- 易迪拓培训,专注于微波、射频、天线设计工程师的培养
创建LabVIEW项目并在项目中添加VI程序
录入:edatop.com 点击:
1. 创建项目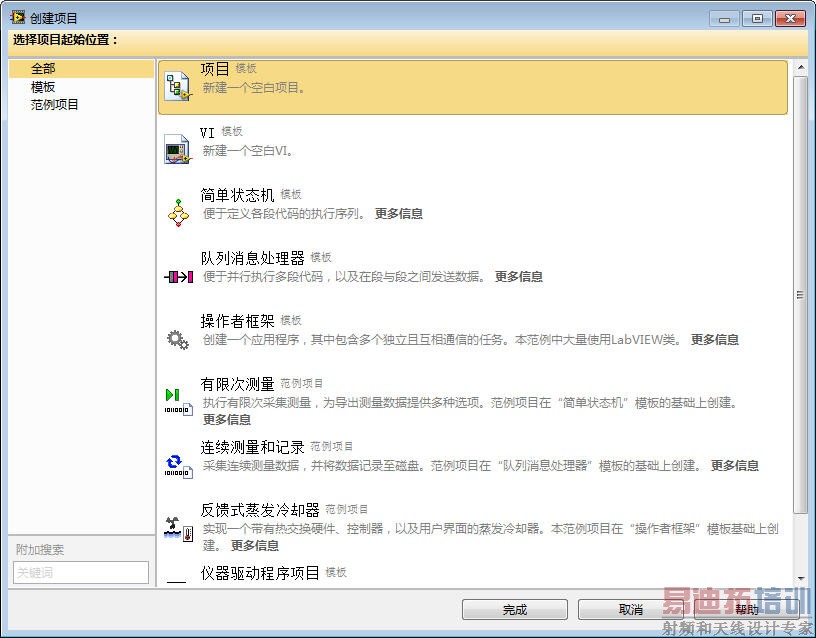
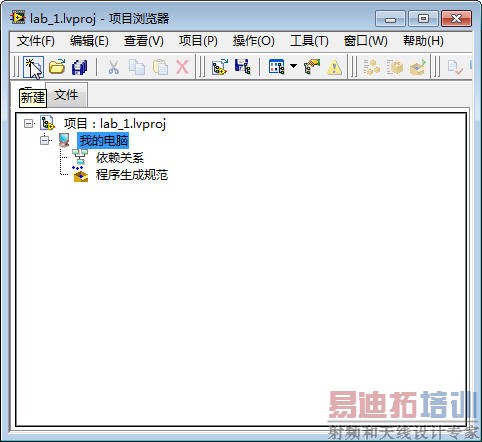
单击“创建项目”,出现创建项目界面。
2. 选取“项目模板”,点击“完成”,弹出项目浏览界面。
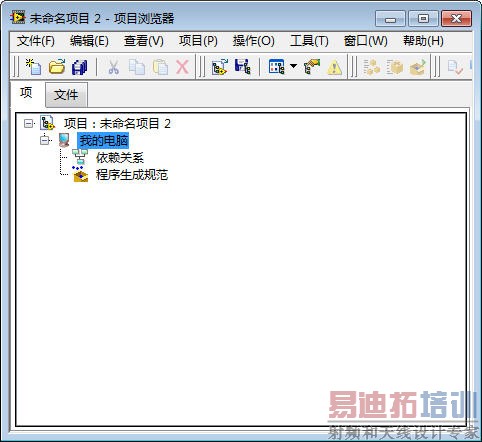
单击“保存全部”,指定文件名,然后点击“确定” ,完成项目的创建及命名保存。
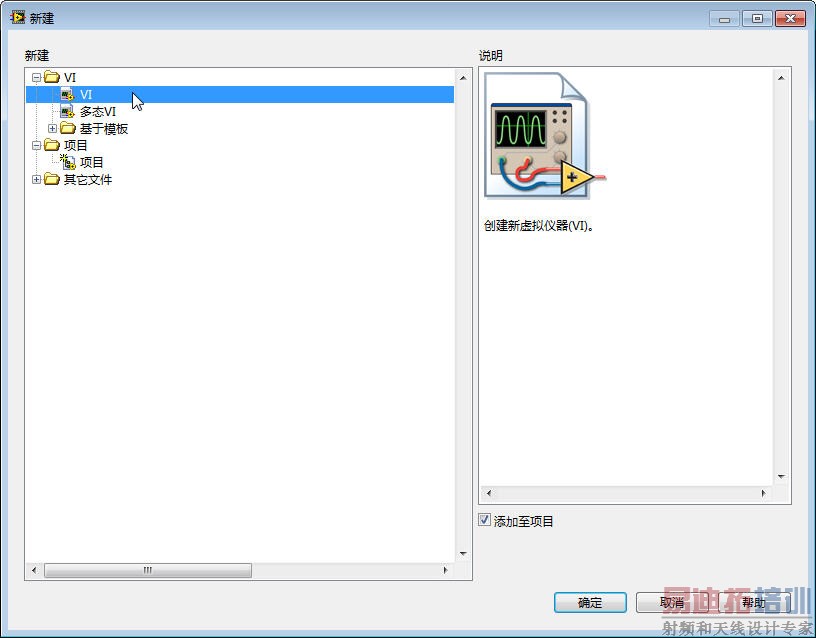
3. 新建VI程序并保存到项目中
点击“新建”
选择“VI”,选取“添加至项目”
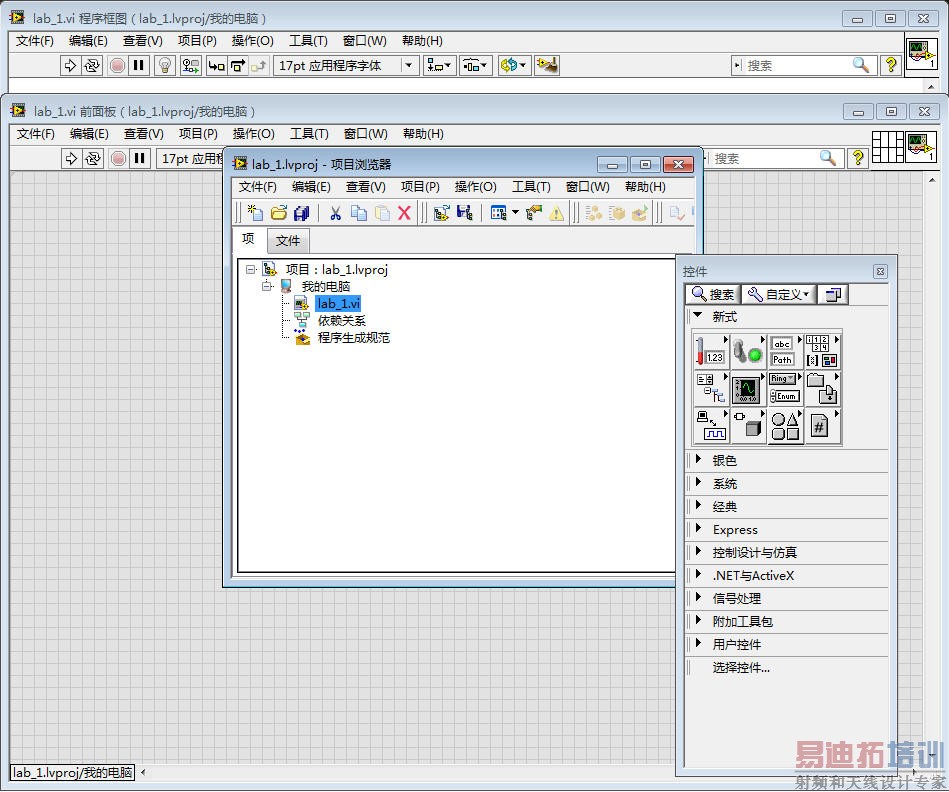
保存,确定VI文件名:
文件名命名为“lab_1.VI”新建VI文件完成,可以看到VI程序已经添加在项目中。